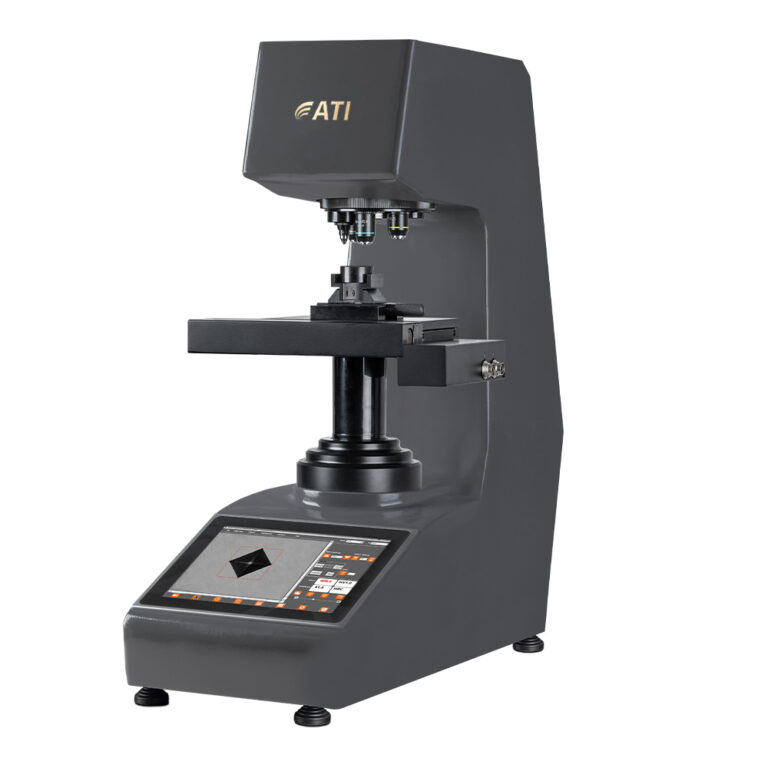
ATI V-AUTO
ATI V-AUTO is an Automatic Vickers, micro Vickers and Knoop Hardness Tester, engineered to meet the rigorous standards set forth by ASTM E92 and E384.
This advanced testing instrument employs a high-precision load cell and Closed-Loop electronic control with a 1 KHz sampling rate, ensuring optimal accuracy and reliability. One START button to get start the entire test cycle with display of the results. Fully automatic test cycle with automatic succession of each phase without interruption. Direct image of indentation with manual or automatic measuring on-board. Turret at 5 positions with automatic selection of indenters and objective lens, depending on the selected scale. ATIV AUTO is equipped with a motorized X-Y-Z table and auto-focus for multi indentation cycle.
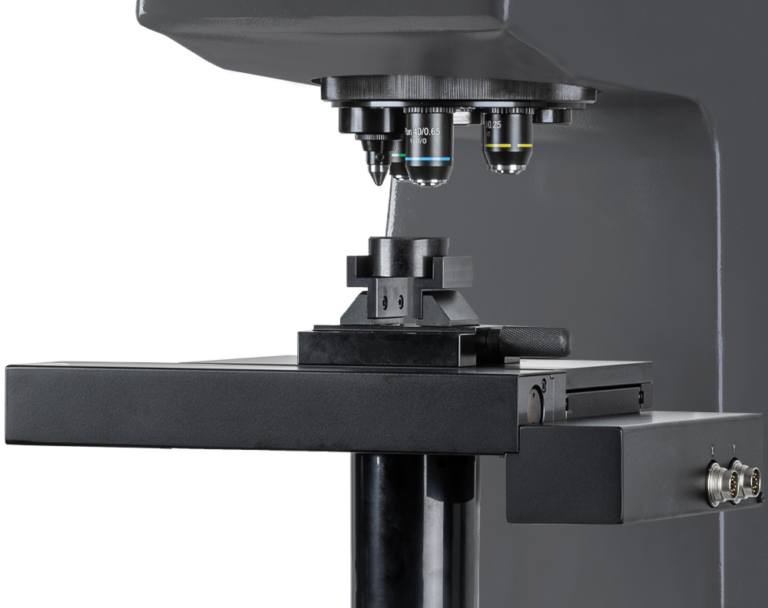
Automatic multi-position turret
ATI V-AUTO is equipped with a motorized X-Y table and auto-focus for multi indentation cycle. ATI V-AUTO is equipped with a automatic turret at 5 positions (3 steps for objective lens and 2 steps for indenters) with automatic selection of indenters and objective lens, depending on the selected scale. Interactive zoom from 15X to 800X for each lens. ATI V-AUTO has the automatic specimen scanning function: with this function, our Vickers hardness tester creates a precise mapping of the specimen through automatic scanning of the sample profile and through automatic recognition of different materials that compose it (external resin and metal material). This is the solution in case of multiple indentation paths in automatic test cycle to determine the effective depth of hardness. It is possible to create patterns with the desired geometries.


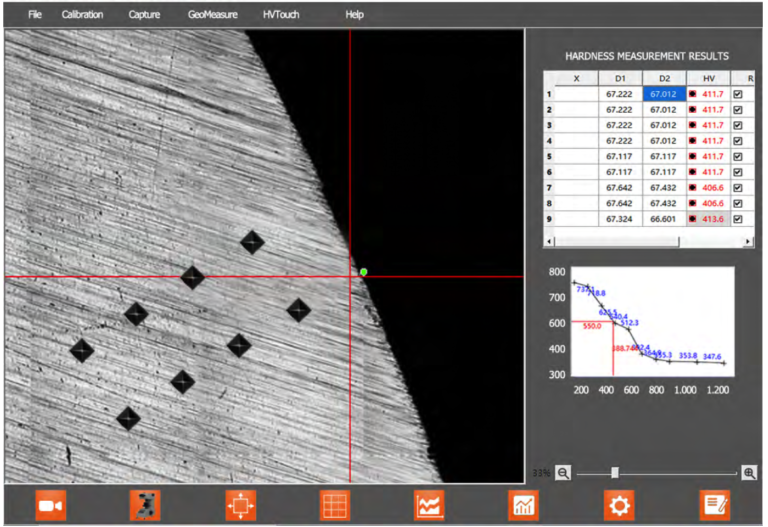
Software
The advanced hardness testing system is equipped with an automatic specimen scanning and multi indentation cycles.
The scanning function creates a precise mapping of the specimen through automatic scanning of the sample profile and through automatic recognition of different materials that compose it (external resin and metal material).
Multiple indentation paths in automatic cycle to determine the effective depth of hardness. It is possible to create patterns with the desired geometries. The CHD diagram appears directly on the display at the end of the cycle with the results.
| Model: | ATI V-AUTO |
| Compliance standards: | ASTM E92 and E384 |
| Range force ATIV 1: | 10 – 25 – 50 – 100 – 200 – 300 – 500 – 1000 gr (0,098 – 0.24 – 0.49 – 0.98 – 1.96 – 2.94 – 4.90 – 9.8 N) |
| Range force ATIV 10: | 200 – 300 – 500 gr ; 1- 2 – 5 – 10 Kg (1.96 – 2.94 – 4.90 – 9,8 – 19.6 – 49.03 – 98.06 N) |
| Range force ATIV 30: | 300 – 500 gr ; 1- 2 – 5 – 10 – 30 Kg (2.94 – 4.90 – 9,8 – 19.6 – 49.03 – 98.06 – 294.19 N) |
| Range force ATIV 50: | 300 – 500 gr (2.94 – 4.90N) ; 1 – 2 – 5 – 10 – 30 – 50 Kg (9,8 – 19.6 – 49.03 – 98.06 – 294.19 – 490.33 N) |
| Force control system: | Electronic control of load cells in “Closed-Loop” |
| Dwell time: | 1-99 seconds |
| Resolution: | 0,001 mm |
| Objectives: | 1X and 2X with a field of view of 8mm x 16mm |
| Auto-focus: | Automatic (just for ATIV AUTO) |
| Optical magnifications: | H20X , 40X (as optional 5X and 10X) |
| Height capacity: | 210 mm (without XY table) |
| Depth capacity: | 135 mm |
| X-Y table: | ATIV: manual table ; ATIV AUTO: motorized table ; Art. A055.0.010 travel 50x50mm, Art. A055.0.008 travel 100x100mm |
| Display: | 11,5” UHD dislay with multicolor touch screen |
| Camera: | 1,3 MP UHD |
| Data storage: | 2GB |
| Principle of operation: | Windows 10 |
| Data output: | USB |
| Power supply: | 200V / 200VA , 50~60 Hz |
| Total dimensions: | 900 x 900 x 1000h mm |
