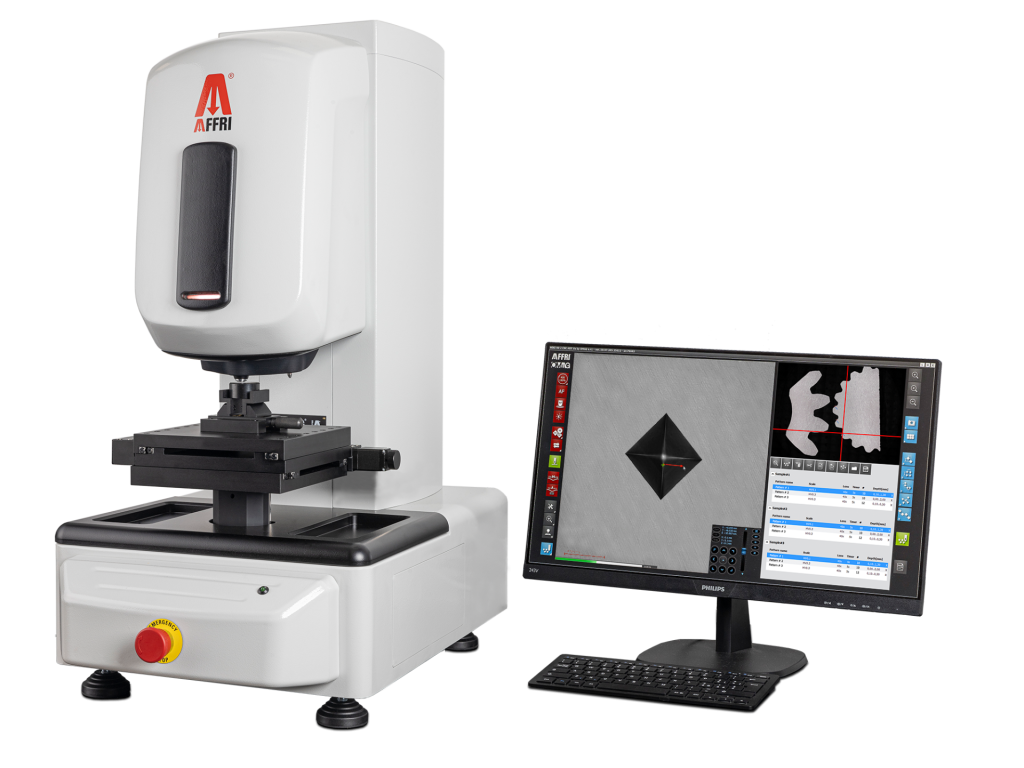
AFFRI WIKI 90 CNC
Hardness tester for Vickers and Knoop tests
Microhardness testing machine AFFRI WIKI 90 CNC is a Vickers and Knoop hardness tester with test loads from 10gf to 62,5 kgf (at request from 1gf). This hardness tester is suitable to test Micro Vickers, Macro Vickers, Knoop, and Brinell hardness test scales. AFFRI WIKI 90 CNC is conformed to all hardness standards including ASTM and ISO.
- Test loads from 10 gf to 62.5 kgf (0.098 to 612.9 N
- Vickers ISO 6507 / ASTM E-384 / ASTM E-92 HV0.001 – HV0.005 – HV0.01 – HV0.015 – HV0.02 – HV0.025 – HV0.05 – HV0.1 – HV0.2 – HV0.3 – HV0.5 – HV1 – HV2 – HV3 – HV5 – HV10 – HV20 – HV30 – HV50
- Knoop ISO 4545 / ASTM E-384 / ASTM E-92 HK0.01 – HK0.02 – HK0.025 – HK0.05 – HK0.1 – HK0.2 – HK0.3 – HK0.5 – HK1
- Brinell ISO 6506 / ASTM E-10 HBW 1/1 – HBW 1/1.25 – HBW 1/2.5 – HBW 1/5 – HBW 1/10 – HBW 1/30 – HBW 2.5/6.25 – HBW 2.5/7.8125 – HBW 2.5/15.625 – HBW 2.5/31.25 – HBW 2.5/62.5
One Button Measurement
The WIKI 90 CNC micro hardness tester is an advanced motorized and fully automatic system designed for Vickers, Knoop, and Brinell hardness testing. It utilizes load cell technology and features a high-definition camera for automatic indent measurement, along with a motorized turret offering 6 positions (4 for lenses and 2 for indenters). This tester complies fully with ASTM and ISO standards for hardness testing.
Simplified one-button operation:
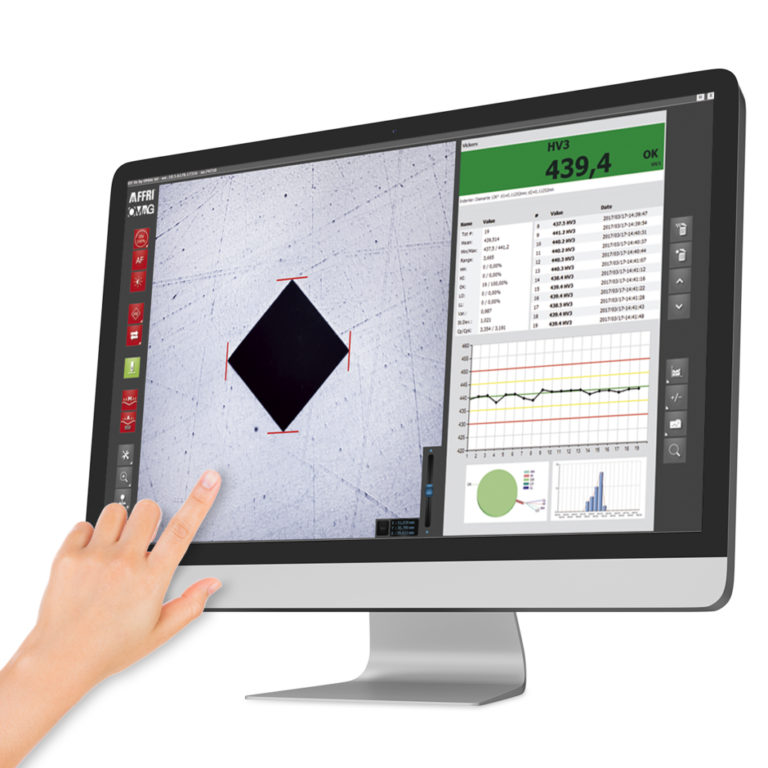
By pressing the START button, the tester automatically indents the sample, moves to the camera for precise measurement, and dynamically generates the test data. Semi-automatic case hardness depth (CHD) testing is made easy with the 1µm step XY table connected to a PC, guiding the user through a step-by-step process.
Ideal for micro and macro Vickers hardness tests, as well as CHD case depth testing on a wide range of materials, including iron, steel, tempered steel, cast iron, brass, aluminum, copper, and various metal alloys. It is also suitable for heat treatments such as hardening, nitriding, cementation, and hard facing. Additionally, Knoop testing can be performed on ceramics and glass materials.
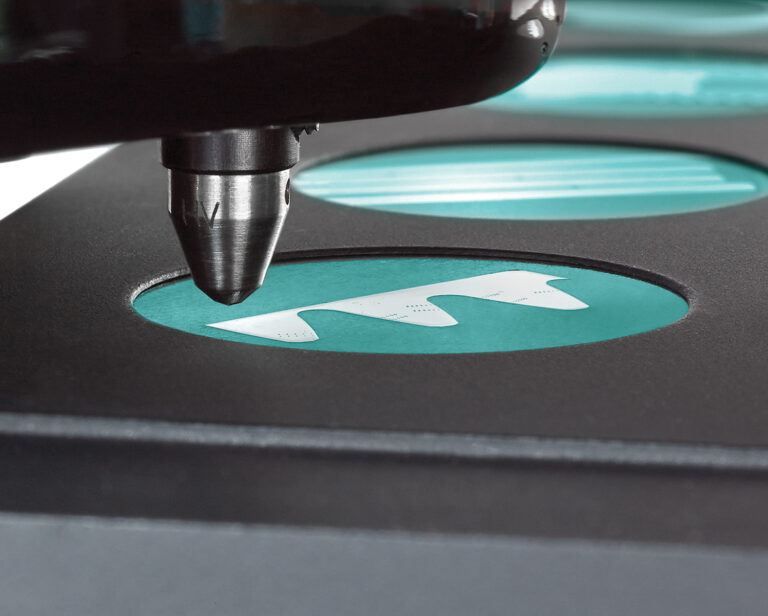
Easy multi Vickers test
CHD TRAVERSES AND PATTERNS
Effortlessly design single or multiple traverses and patterns in no time. A simple click on the line sets the angle and starting point for indentations.
SEMI-AUTOMATIC CHD TESTING
High-precision digital micrometers, connected to the PC, ensure movement resolution with 1 µm steps. The process is guided step-by-step, making it easy to test at the exact XY coordinates required.
CREATE, SAVE, AND RELOAD
Eliminate the hassle of recreating the same pattern repeatedly. This functionality is perfect for users who frequently test similar areas. Once a pattern is designed, it can be saved and reloaded for future use, streamlining analysis on new samples.
MODIFY, REPOSITION, OR DELETE
Select a pattern from the preview image and adjust its direction, location, hardness scale, indentation count and spacing, pattern name, or focal point.
ZOOM IN AND OUT
Zoom out to view the full sample and easily identify the position and orientation of the pattern. Zoom in to inspect pattern spacing and detect surface flaws or imperfections with clarity.
Software
The Vickers software is designed to meet all your measurement needs while being accessible to any user. This is a “SMART SOFTWARE,” highly intuitive and yet packed with all the features required for both simple and multi-cycle Vickers hardness testing:
- Easy single Vickers test
- Automatic conversion across all scales (Rockwell, Brinell, Knoop, ASTM, and ISO)
- Multi-test and multi-sample hardness testing with automated cycles
- Automatic Vickers case hardness depth (CHD, NHT, EHT, RHT, etc.)
- Measurement of layer thickness
- Crack detection and analysis
- Automatic Vickers testing for welding
- Direct export of results via Ethernet
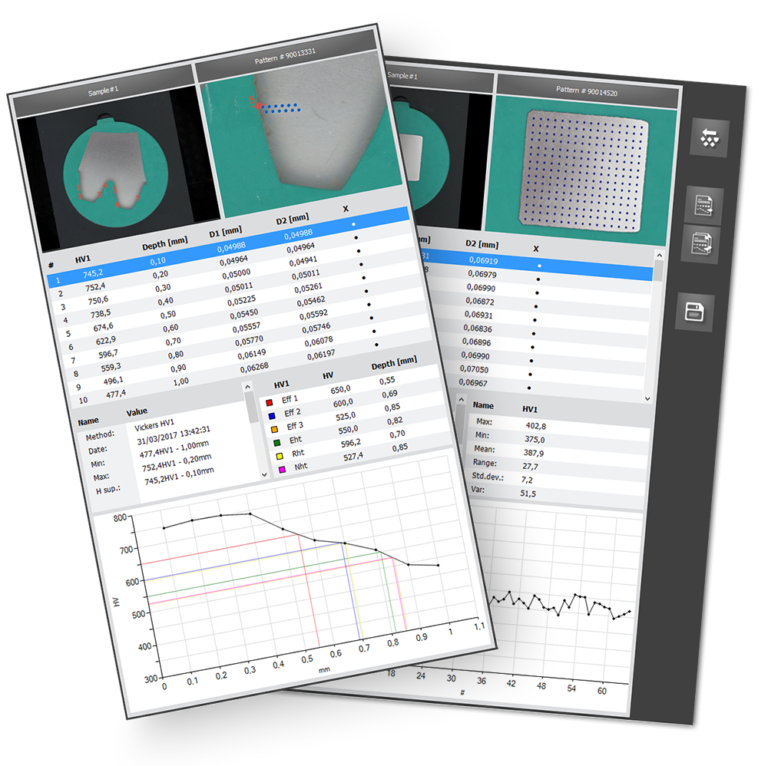
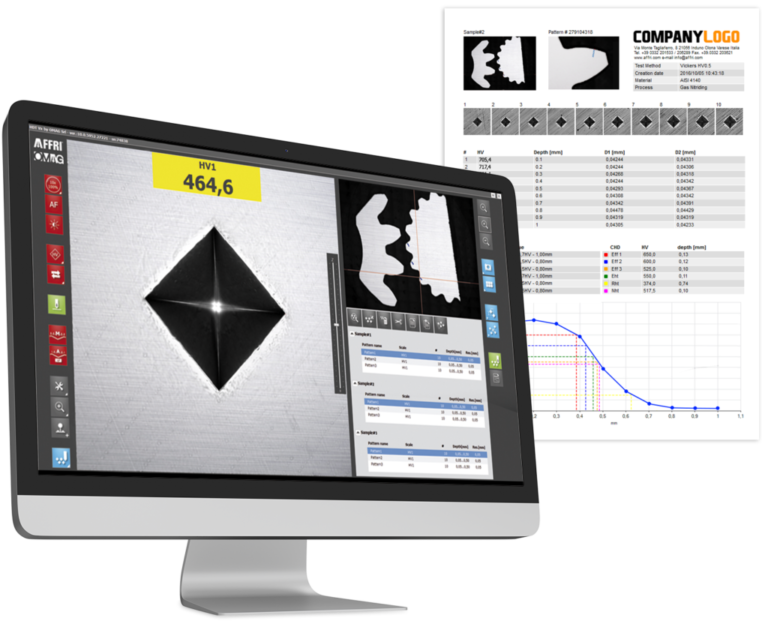
- Customizable test reports featuring client logos, specimen details, indentation images, statistics, and graphical representations
This software makes complex hardness testing straightforward, while still offering full functionality for a variety of testing needs.
Don’t Wast Your Time
Micro hardness tester WIKI 90 CNC has software designed for intuitive and simple use. All you have to do, for case hardness depth, with three easy steps:
- Obtain a perfect, detailed, high-resolution panoramic view of the sample using the panoramic feature. The picture is clear, sharp, and without any distortion.
- Create, save, open, modify, copy or paste Vickers multi-tests to predefined locations with a simple click. Create case depth traverses or fill a surface with indentation points to control sample uniformity.
- The hardness tester brings you to the right position, indents the sample, measures, and generates data dynamically. Review results in graphical and/or tabular format. Export results to any spreadsheet application, or simply print standard or customized reports.
The Vickers hardness tester teaches the operator how to move, saving time and money, thus increasing the accuracy of results.
Auto-compensation of all deflections
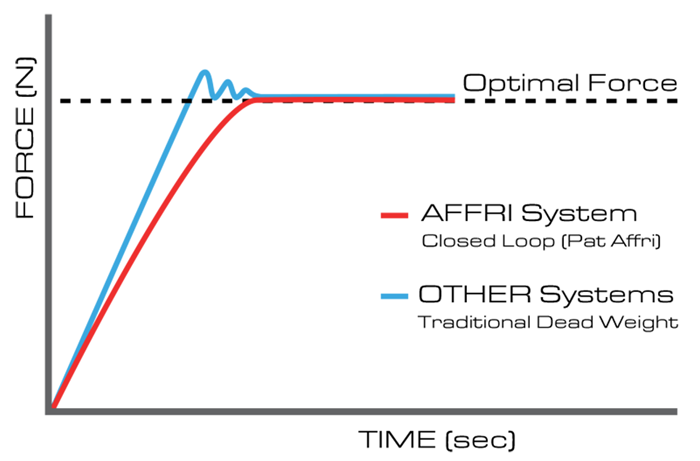
When working with unstable or deflecting samples, the AFFRI System ensures continuous contact by following the sample thanks to its infinite stroke for both the indenter and the clamping hood. This design allows precise measurements even in challenging testing conditions. The load forces are applied via load cells, which are regulated in a Closed-Loop System, operating at a frequency of 1 kHz. This ensures perfect linearity across all measurement ranges, with no impact from structural deflection, misalignment, or vibrations during testing. Thanks to the system’s advanced design, accurate results are obtained on the first test, even in extreme conditions, removing the need for repeated trials. The Repeatability and Reproducibility (R&R) data is among the best available in the industry, providing unmatched reliability and precision.
MAIN FEATURES
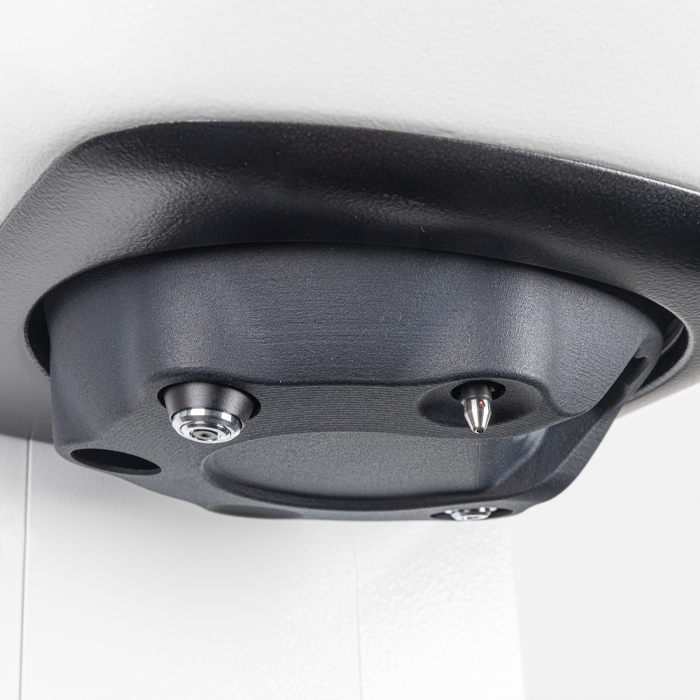
MOTORIZED TURRET
The turret rotates horizontally and features 4 slots for magnification lenses and 2 slots for indenters. All-optical microscope objectives can be pre-installed and paired with indenters, making it compatible with all Vickers and Knoop hardness scales.
MAIN FEATURES

ANTI-COLLISION SYSTEM
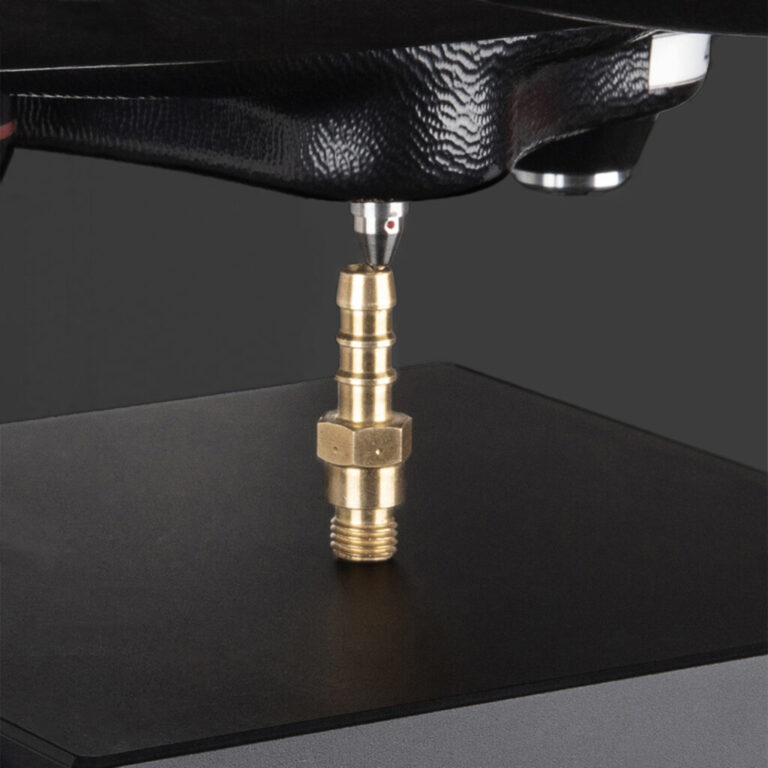
The anti-collision system is a safety feature that halts the head and automatically retracts it if an unexpected obstruction is encountered during descent. This innovative function guarantees optimal precision under all conditions while ensuring the utmost safety for operators.
MAIN FEATURES
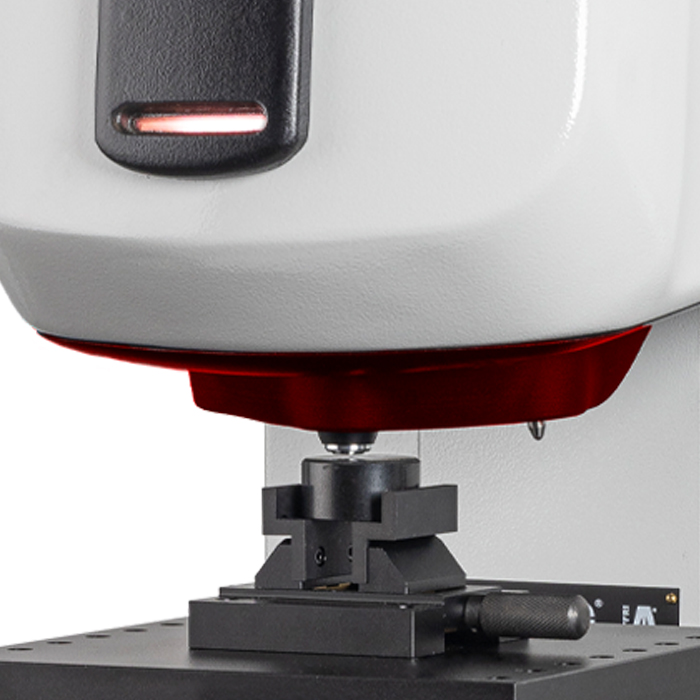
7° INCLINED TURRET
Our engineers have developed a new turret position following extensive research conducted in our laboratories. We have tilted the head by 7°, which is the optimal angle ensuring that when the turret rotates, it remains clear of any obstacles, allowing for smooth and safe rotation.
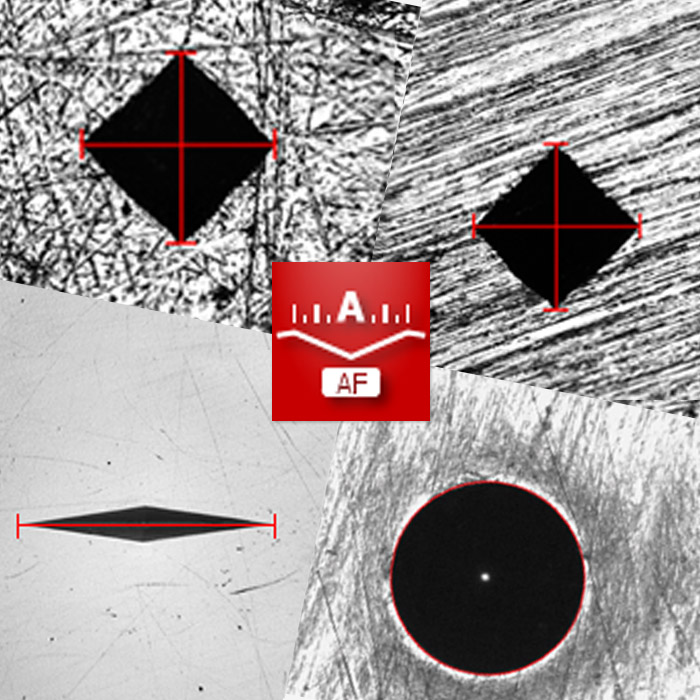
AUTOMATIC READING
Horizontally rotating turret featuring four slots for magnification lenses and two designated for indenters. All optical microscope objectives can be pre-configured and paired with indenters suitable for any Vickers and Knoop hardness scale.

LIGHT CONTROL
Automatic lighting adjustment ensures optimal visibility on dark, opaque, or polished surfaces. The hardness tester automatically regulates light intensity and contrast to achieve the ideal settings for indent measurement. Simply position the sample and press the illumination button to observe the adjustments.
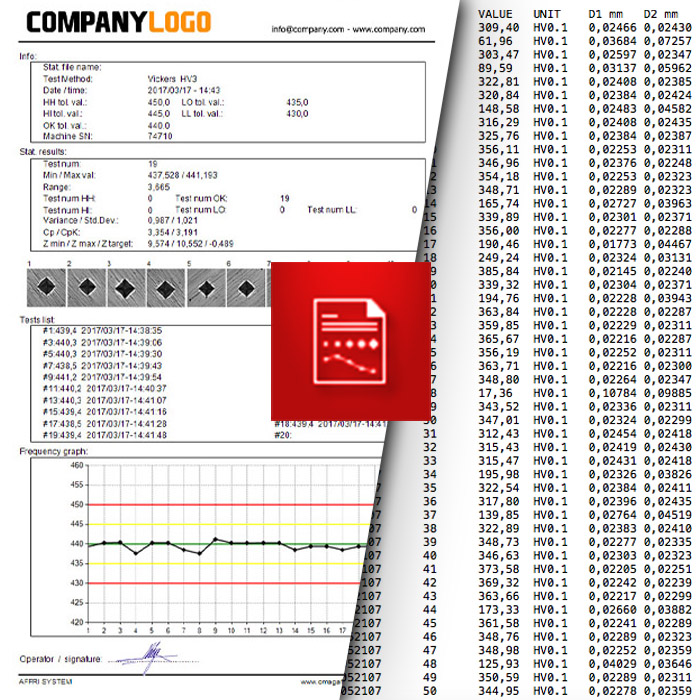
TEST REPORT
Create fully customizable test reports that include your company logo and detailed information. Add as much sample data as required, including images of the indents and the test area. Analyze results, review statistics, and view the CHD diagram. Export results seamlessly in CSV format for further processing.
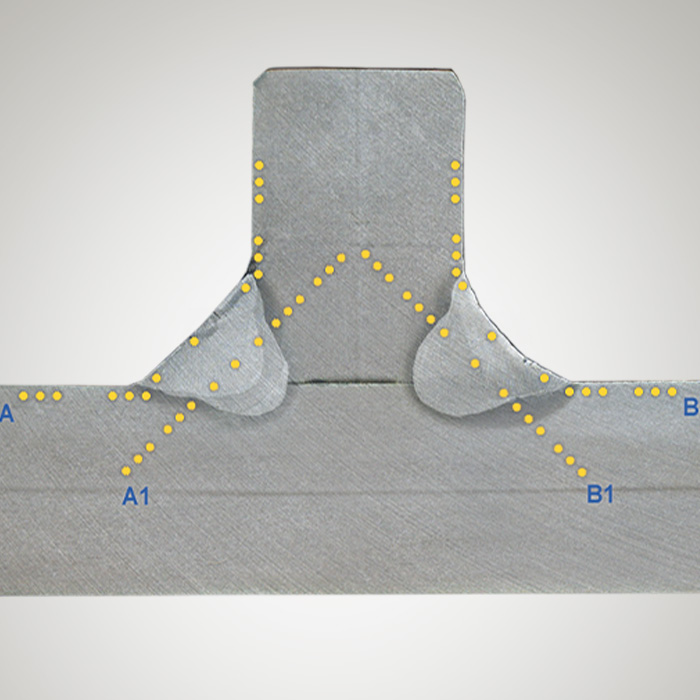
Hardness Tests on Weldings
Capture a comprehensive panoramic image of the entire weld area, enabling clear identification of the base material, fusion zone, and heat-affected region. The specialized software designed for welding tests allows users to precisely define test paths, setting specific distances between indentations, edges, and various materials in relation to the heat-affected zone. With just a few minutes of analysis, accurate results are generated, offering quick insights into the weld quality and material properties. This efficient system ensures precise measurement with minimal setup time, streamlining the testing process and enhancing overall productivity.
